Products
Knowledge Base
Support Downloads
Articles
suggested searches
Account
Seagate Support


Browse our most popular support articles.
Check here for important support updates, notices or documents.
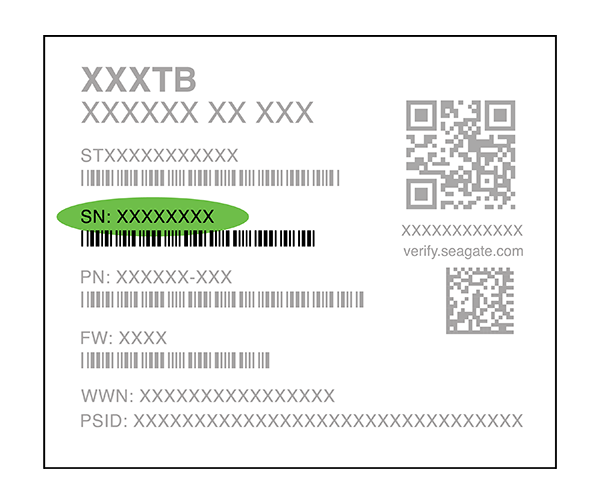
For product disassembly instruction contact your account team or Customer Technical Engagement (CTE) representative.
Thanks for choosing Seagate.
Register NowDefend against data loss with Rescue Data Recovery Services.
LEARN MORE⁺Promotion terms and conditions available at https://www.seagate.com/legal/sales-and-promotion/03-28-2024-maythe4th/